Brief
The play of life on water, reflections in water and the movement of water has fascinated many photographers and filmmakers. Gerhard Richter captures the abstract qualities of water. Jamie Paterson depicts atmosphere seascapes. David Hockney recorded the changing surface of water. Consider relevant work by others and respond in your own way.
Introduction
For my A2 exam I have chosen the question water to focus on to help achieve my grade. The reason why I have chosen water out of all the other questions is because I think it is the easier question to do and I am also interested in taking pictures relating to this question because it allows me to take a variety of images relating to water for example reflections, water droplets and the movement of the water. The layout of my exam will consist of me doing research where I will provide images that I will look to follow and also research of other photographers who have also taken pictures of what I am doing. This will allow me to gather ideas from the work of which they have done which will guide me in a good direction of where I want to take this question.
Research
My research will include me looking at images of water photography and looking at other photographers like I have mentioned already in the introduction. What my research will also include will be talking about where and what I will do to firstly take my original images and then eventually once I have my images go on to then edit them to improve the quality of the images. The types of photographers that I will look at will be Gerhard Richter, Jamie Paterson and David Hockney.
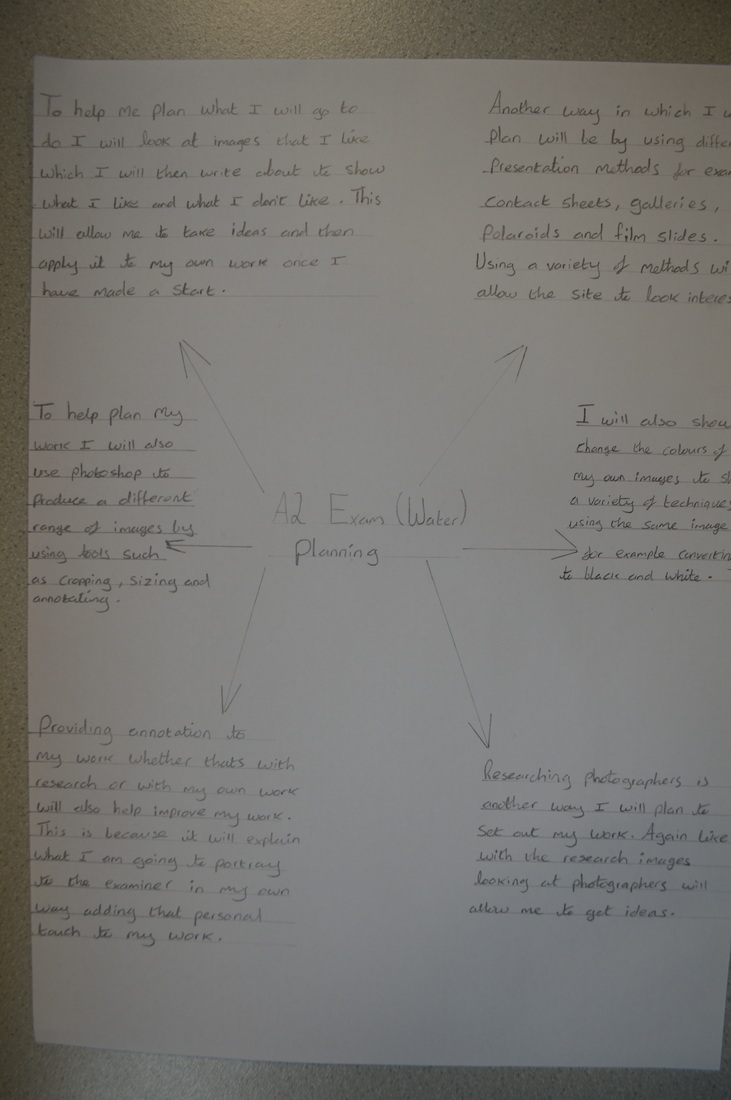
Below is a mind map of what i am planning on doing for my A2 exam based on water.
Below is a mind map of what i am planning on doing for my A2 exam based on water.
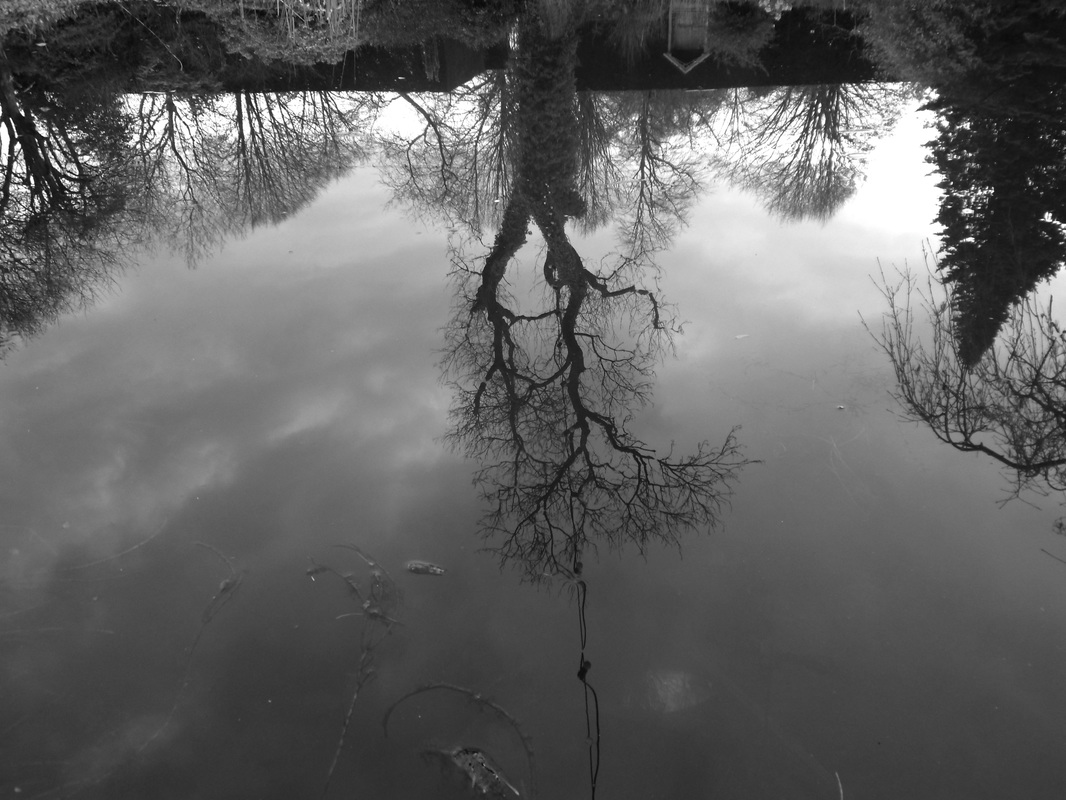
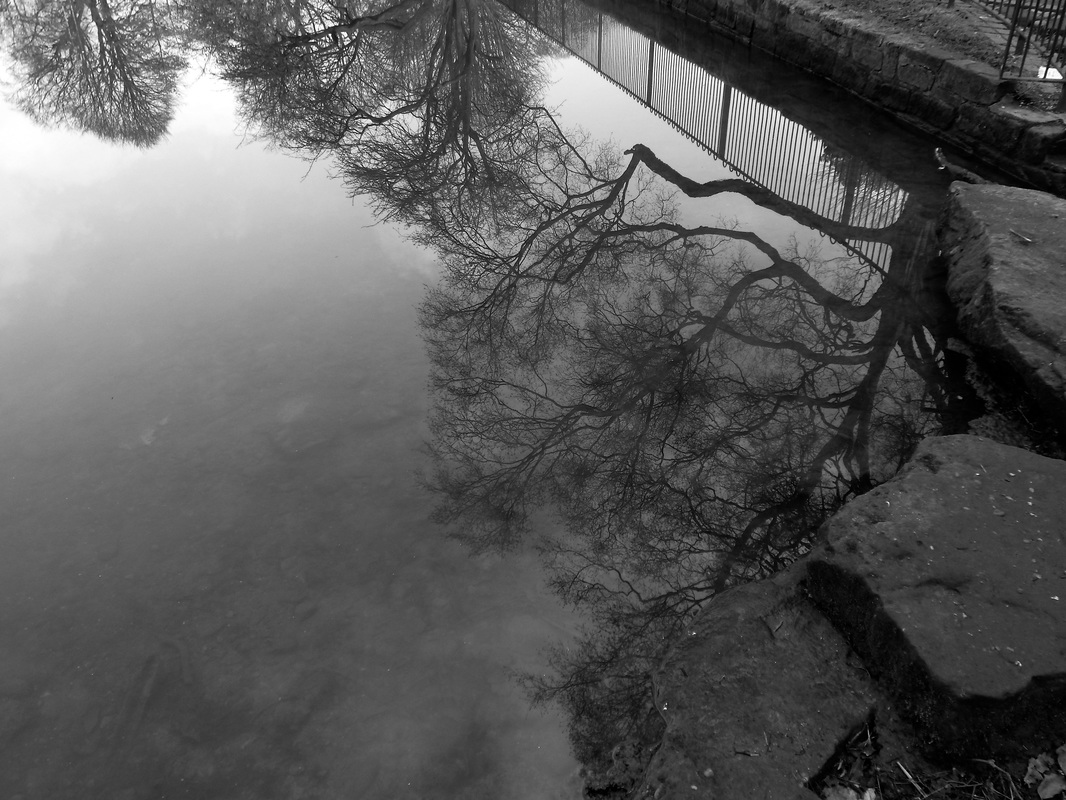
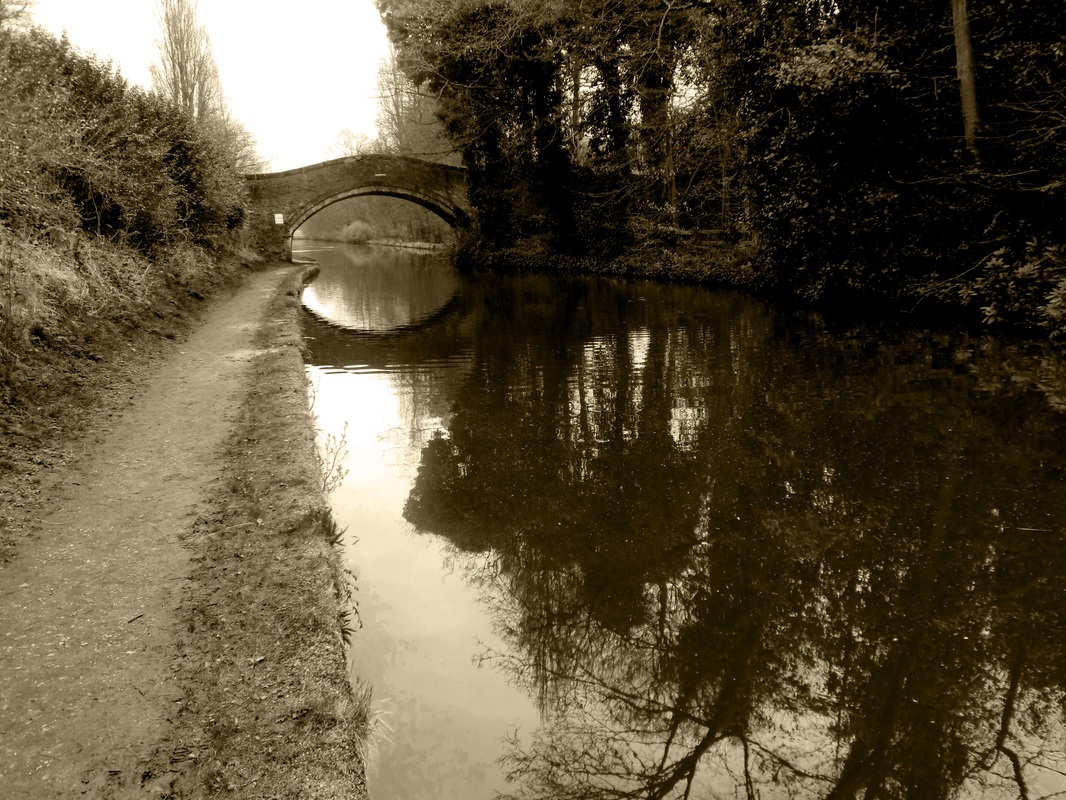
The images below I have gathered from google to provide research images. By gathering these images together it allows me to take ideas from these images to help me when i do my own. I have presented these images by using a contact sheet to show a variety of presentation methods.
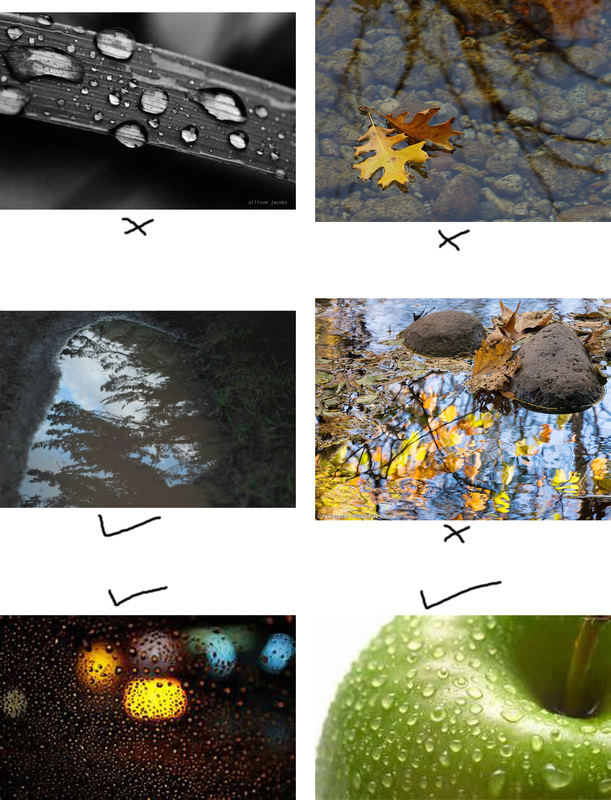
The images above are research images that i have collected from the internet. I have chosen these images because they are the type of pictures that I am going to take for my exam so by gathering these images it will give me ideas of what I can do. As you can see I have decided to present these images in a contact sheet format. By doing this it allows me to annotate the page which I have done using ticks and crosses. The ticks and crosses show which images I like and the ones that I don't.
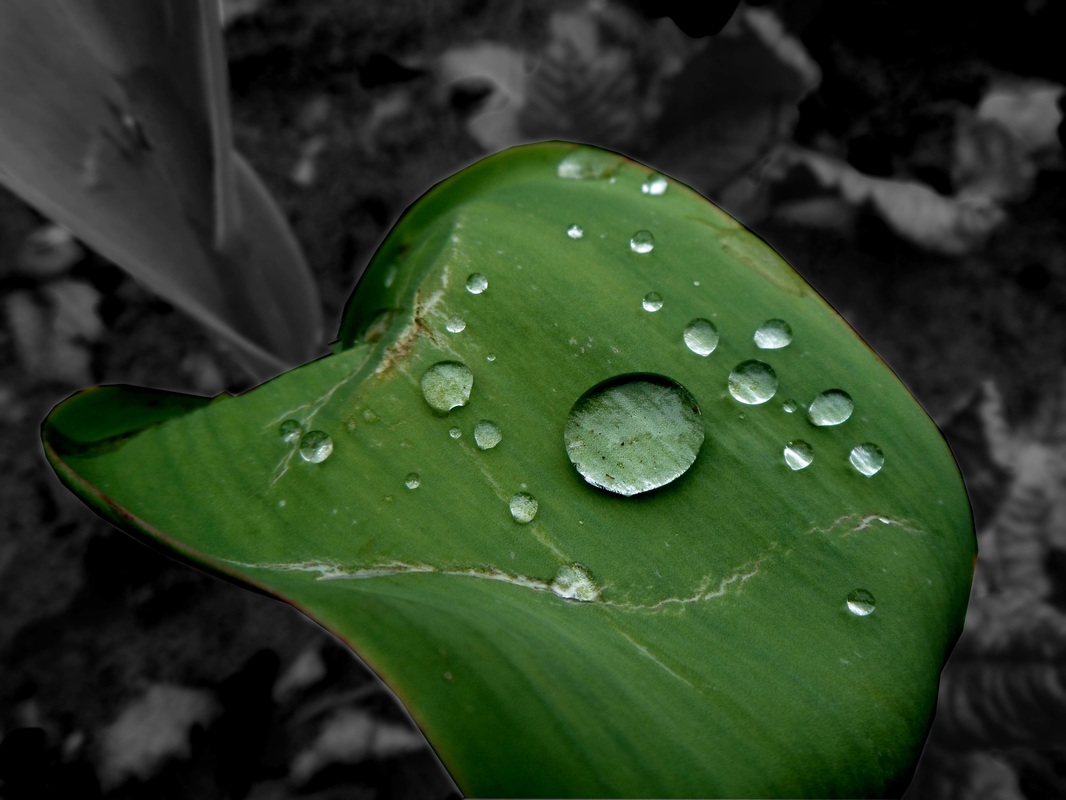
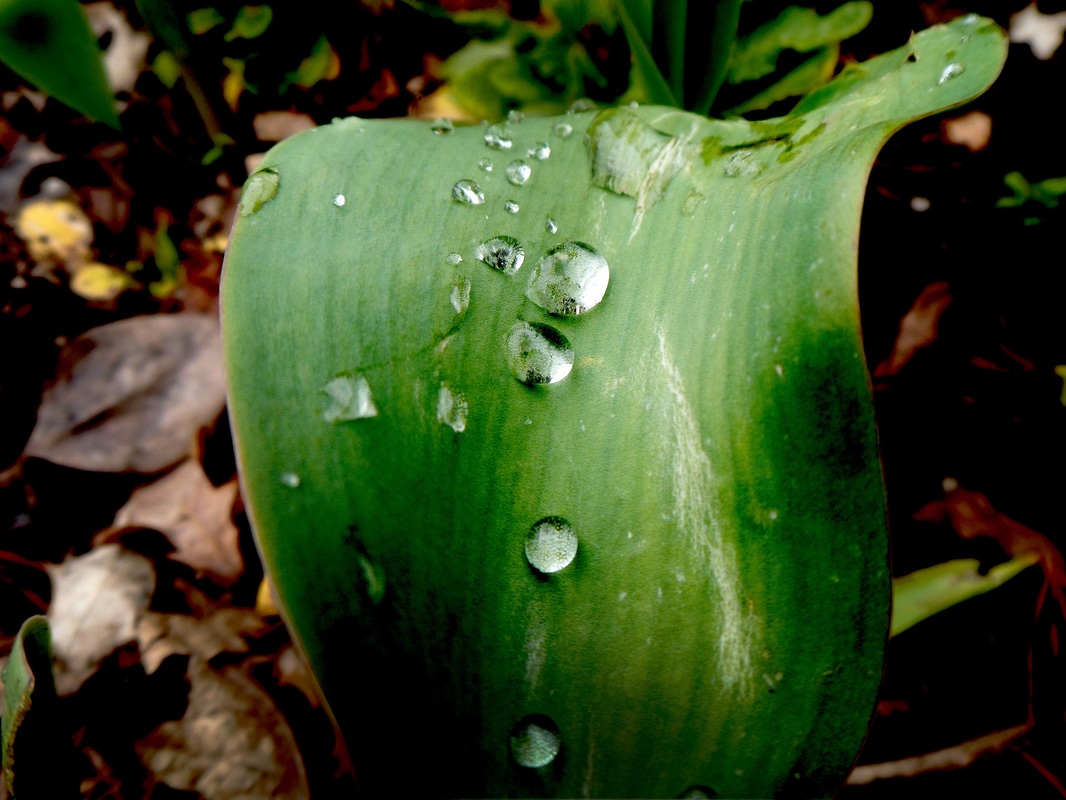
The top left image I have decided that I don't like. The reason why I don't like this image is because I think that the droplets on the leaf look unrealistic for example it looks as if they have been stuck on.
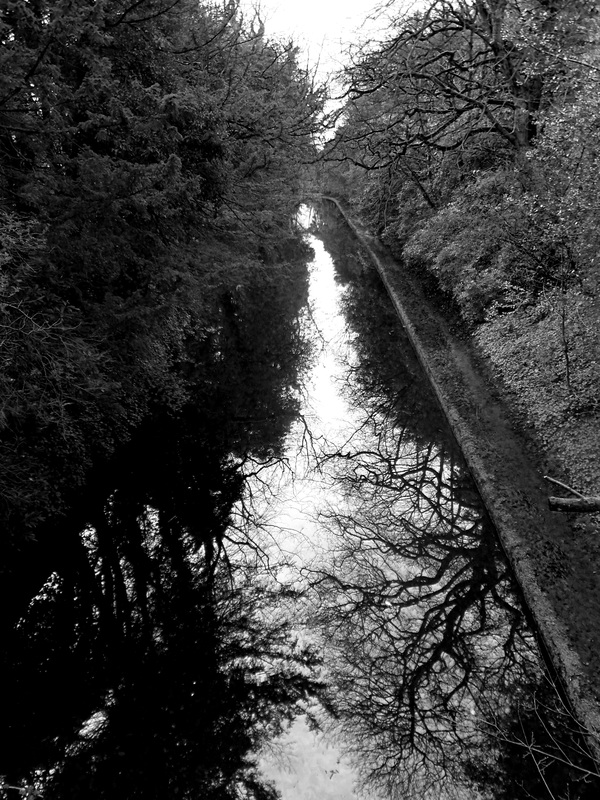
The other image next to it is another image that I don't like and this is because the image doesn't interest me for example to make the image more interesting there could be ripples that could be produced in order to show the water which will therefore provide more detail for when you take the picture.
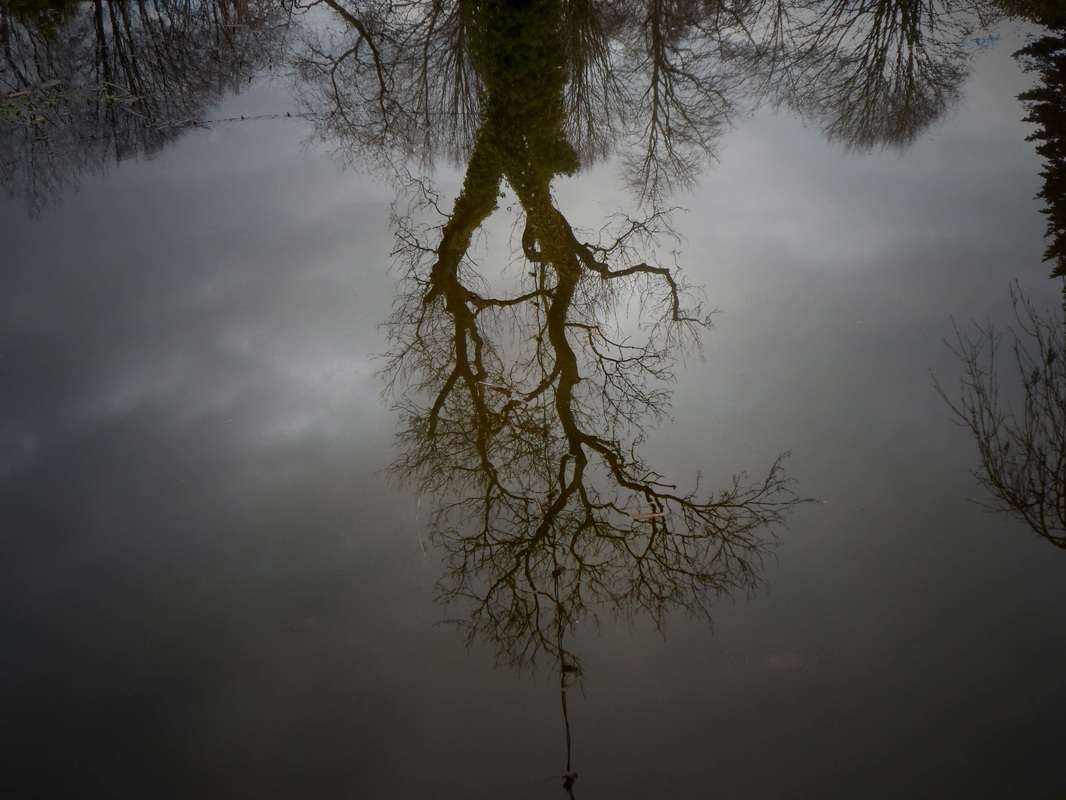
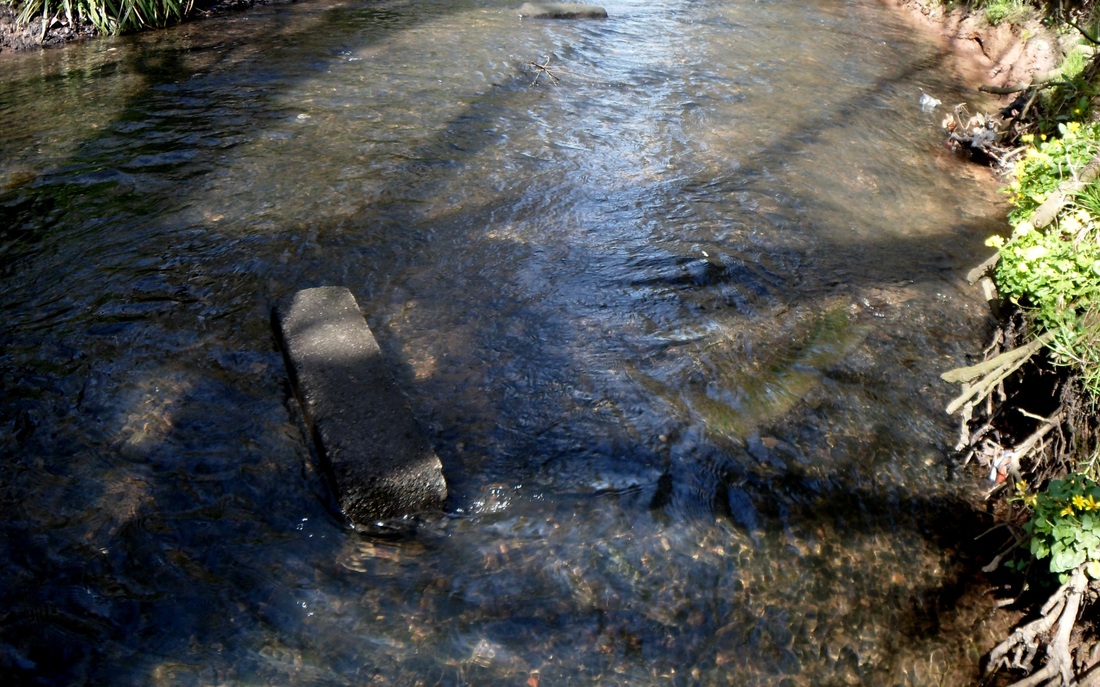
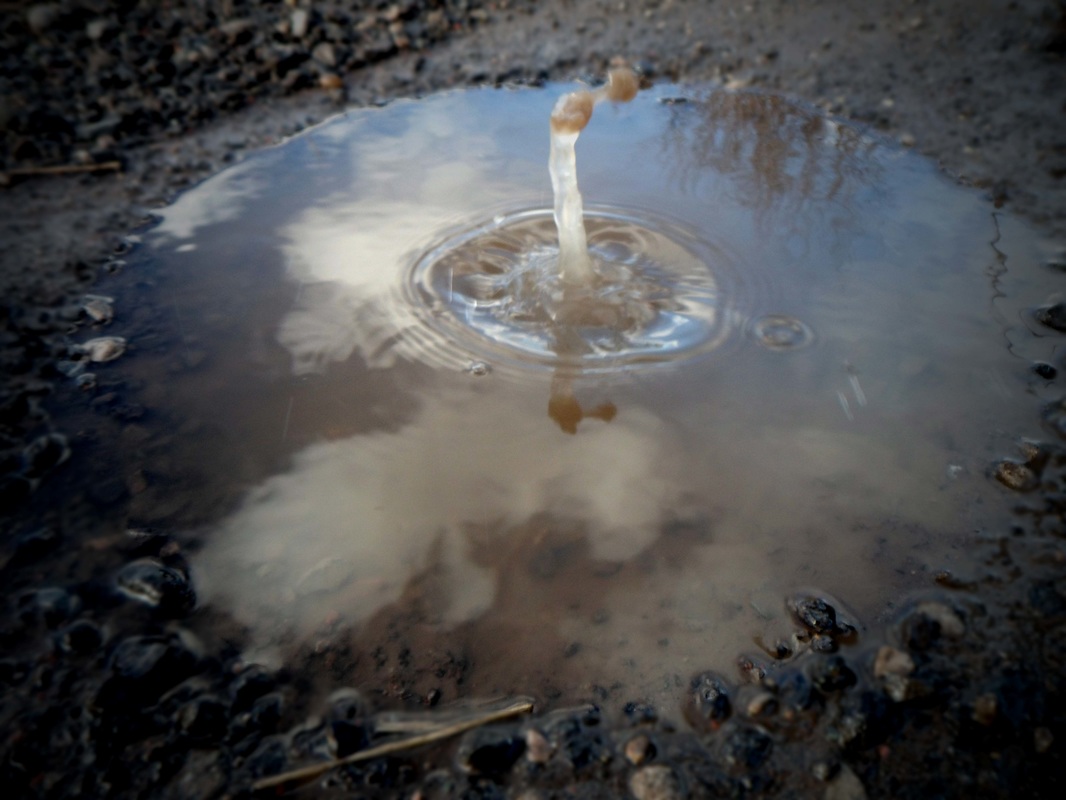
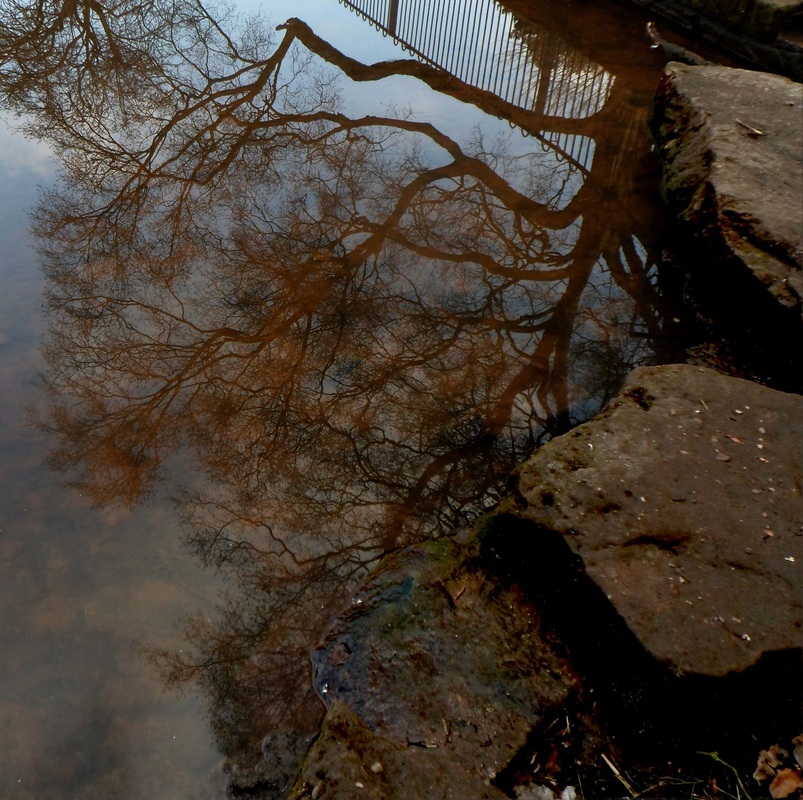
As you can see from the tick on the picture that is positioned in the middle left this is an image that I like. The reason why I like this image is because looking at the ground you can see its dark and muddy but because of the reflection in the puddle you can see the contrast between them is different because the sky is bright making it opposite to what it looks like looking directly at the ground.
The top left image I have decided that I don't like. The reason why I don't like this image is because I think that the droplets on the leaf look unrealistic for example it looks as if they have been stuck on.
The other image next to it is another image that I don't like and this is because the image doesn't interest me for example to make the image more interesting there could be ripples that could be produced in order to show the water which will therefore provide more detail for when you take the picture.
As you can see from the tick on the picture that is positioned in the middle left this is an image that I like. The reason why I like this image is because looking at the ground you can see its dark and muddy but because of the reflection in the puddle you can see the contrast between them is different because the sky is bright making it opposite to what it looks like looking directly at the ground.
Types of Photographers
In addition to the research that I have already provided from the image above I will now go onto write about different photographers who link in with the question that I have decided to choose for my exam. The types of photographers who I will research will be the ones who I have mentioned already which are Gerhard Richter, Jamie Paterson and David Hockney.
Gerhard Richter
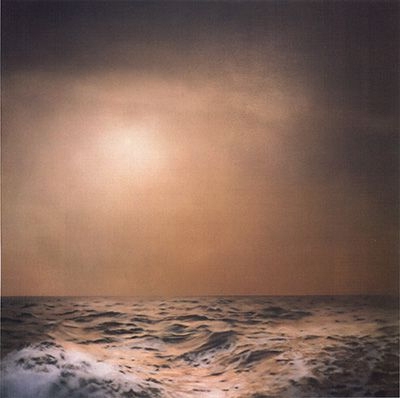
After looking at some of Gerhard Richter's images he looks to keep to a certain type of style when taking images to do with water. As you can see from looking at some of his images below you can see that he incorporates backgrounds into his images for example sunsets. By adding other things to do the image gives the image more detail and can increase the detail of the water. As Gerhard Richter includes backgrounds to support the types of images he takes which is water, the background he includes can change the atmosphere of the image for example including a dark background can make the image look frightening. In Gerhard Richter's work as you can see from his images below it shows an artistic style to his images that he presents for example they look as if pastels have been used in the image before it has been taken as a photograph.
Gerhard Richter
After looking at some of Gerhard Richter's images he looks to keep to a certain type of style when taking images to do with water. As you can see from looking at some of his images below you can see that he incorporates backgrounds into his images for example sunsets. By adding other things to do the image gives the image more detail and can increase the detail of the water. As Gerhard Richter includes backgrounds to support the types of images he takes which is water, the background he includes can change the atmosphere of the image for example including a dark background can make the image look frightening. In Gerhard Richter's work as you can see from his images below it shows an artistic style to his images that he presents for example they look as if pastels have been used in the image before it has been taken as a photograph.


Jamie Paterson
Jamie Paterson is another photographer who takes images to do with water who I am going to look at to help me with my work. Looking at his images that I have presented below these are the types of images that I look to achieve when I take my own. As you can see from the images it is clear that he has used a different types of exposures to get the quay of the image that he is taking. the bottom two images to the right are the types of images I will look to take for my exam. The reason why I like these images is because it provides the detail within the image.
Jamie Paterson is another photographer who takes images to do with water who I am going to look at to help me with my work. Looking at his images that I have presented below these are the types of images that I look to achieve when I take my own. As you can see from the images it is clear that he has used a different types of exposures to get the quay of the image that he is taking. the bottom two images to the right are the types of images I will look to take for my exam. The reason why I like these images is because it provides the detail within the image.


David Hockney
David Hockney is another photographer who I am going to look to help me with my work.
David Hockney is another photographer who I am going to look to help me with my work.


My First Response


Cropping


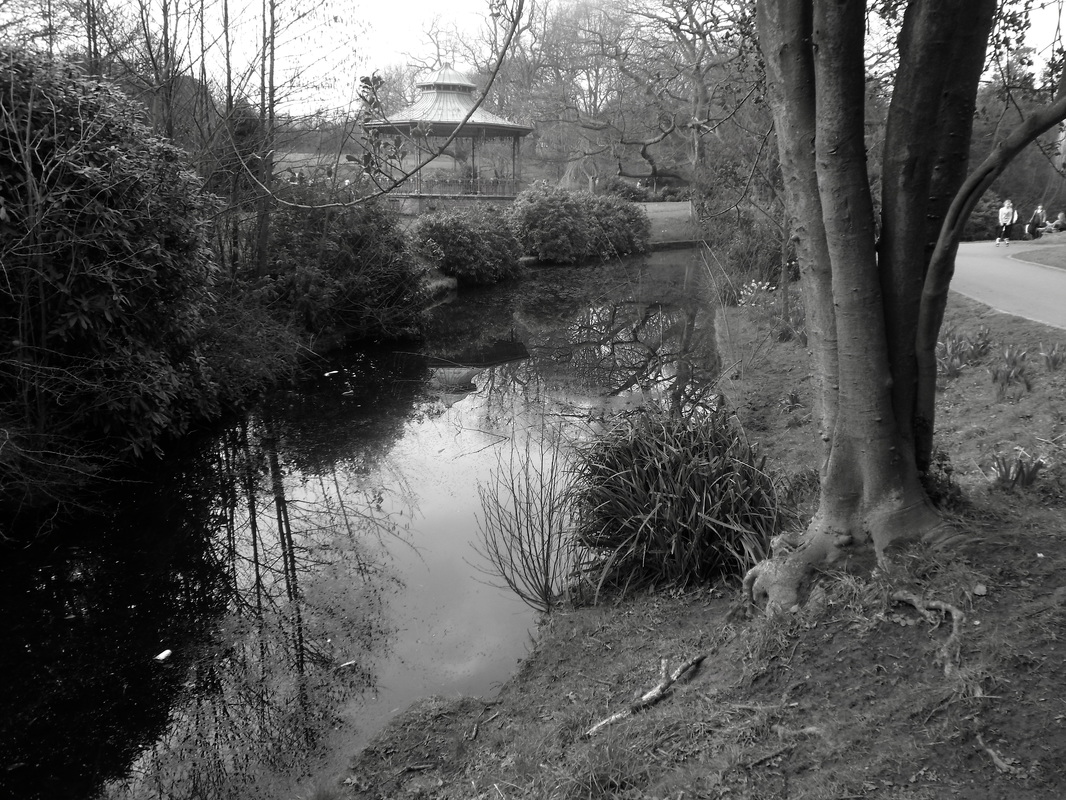
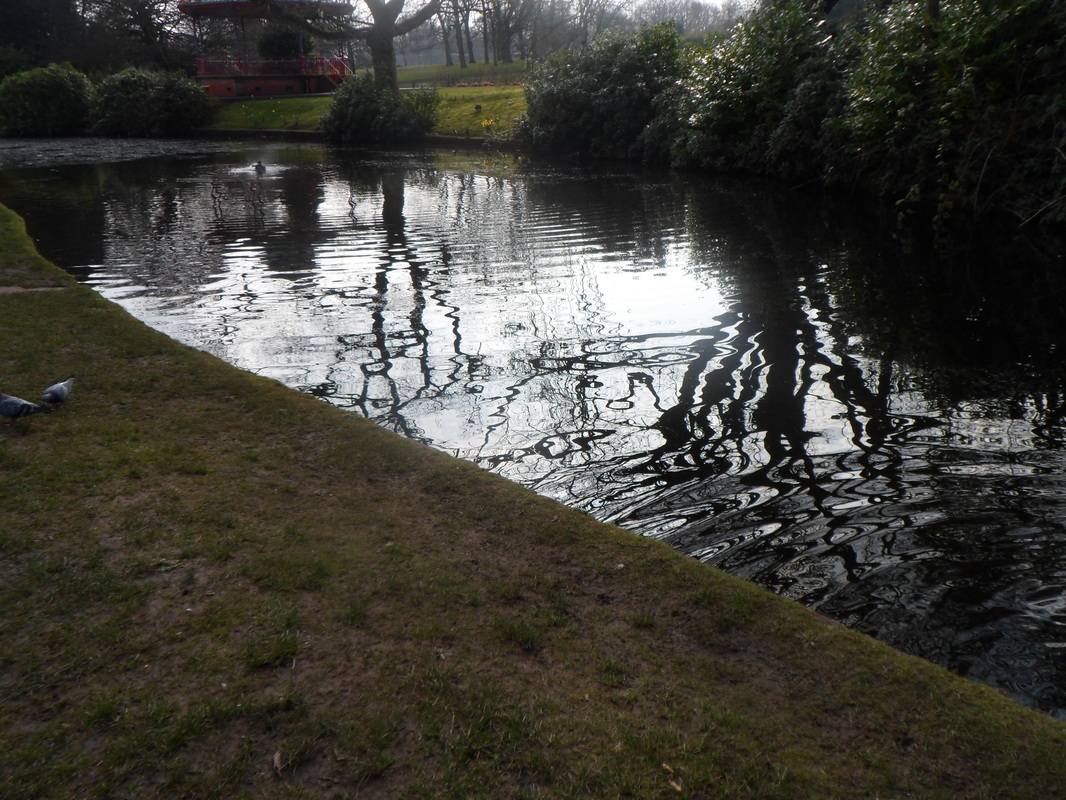
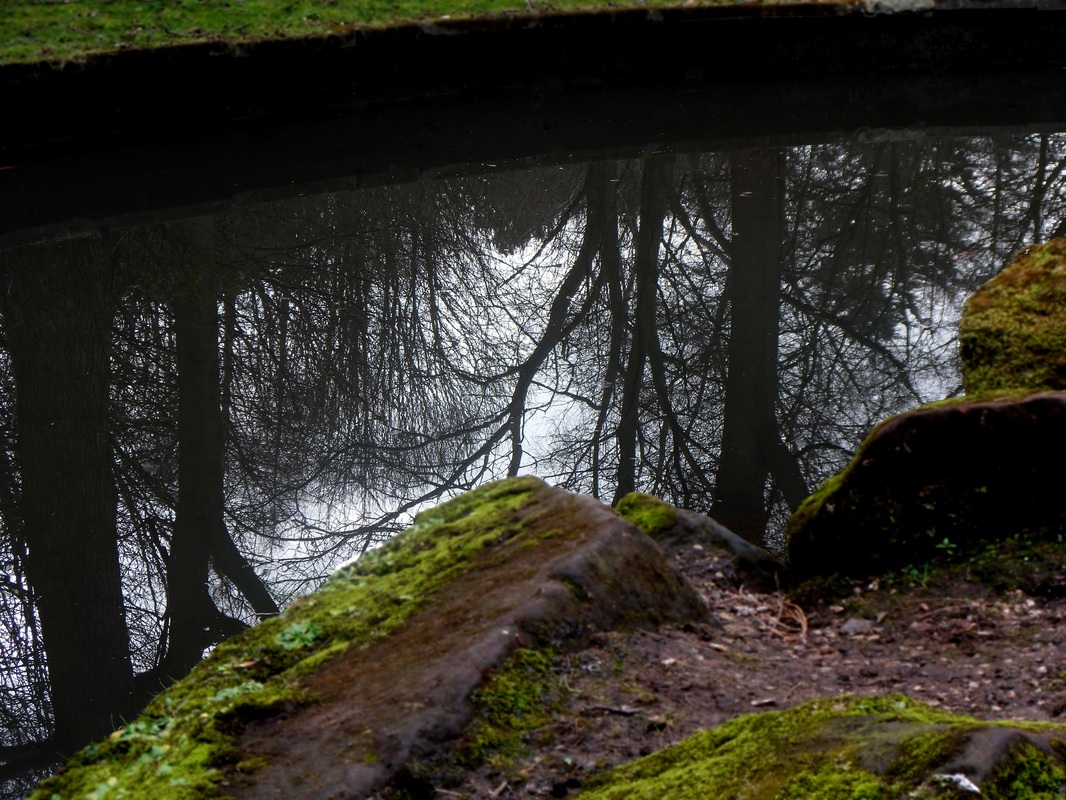
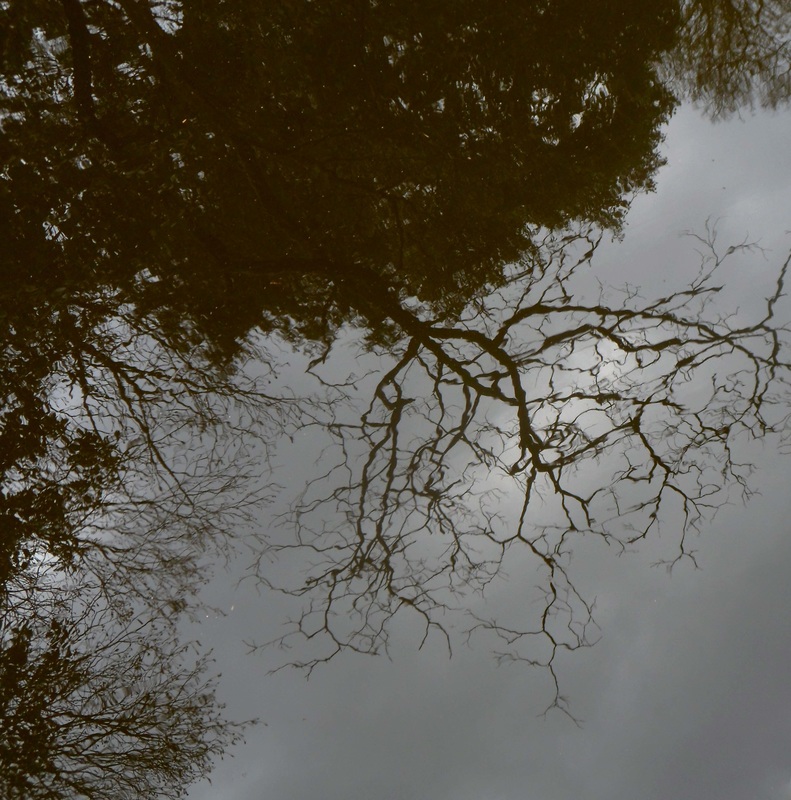
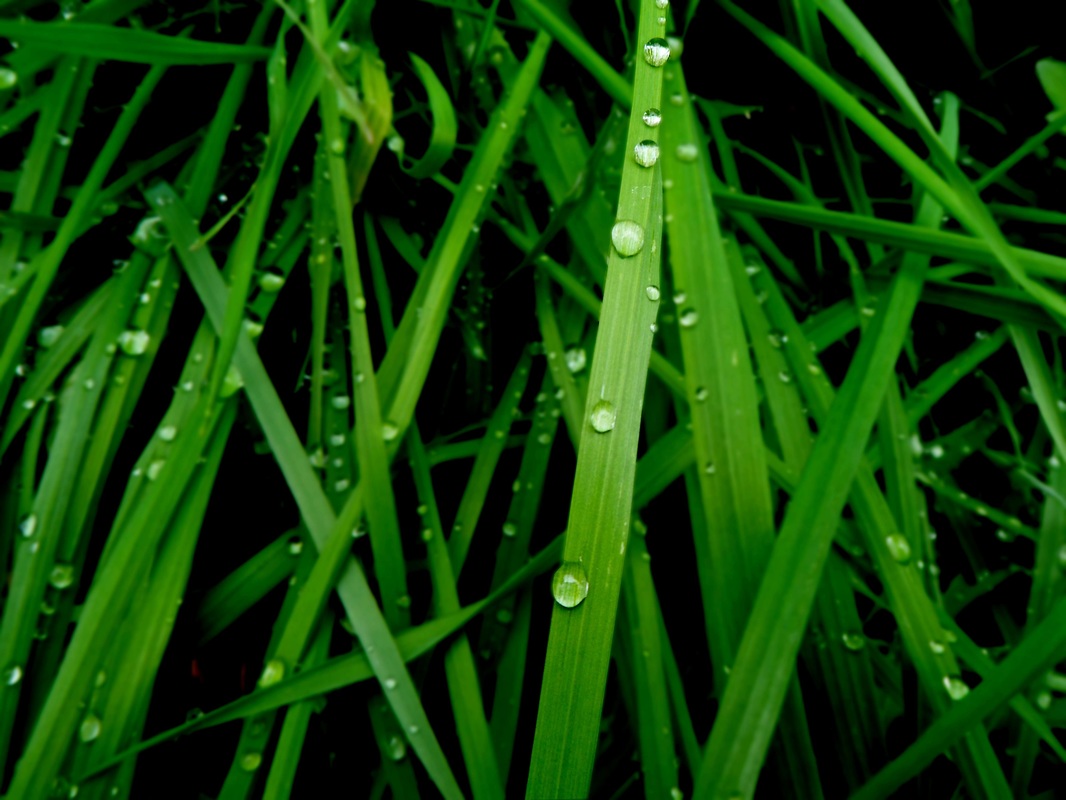
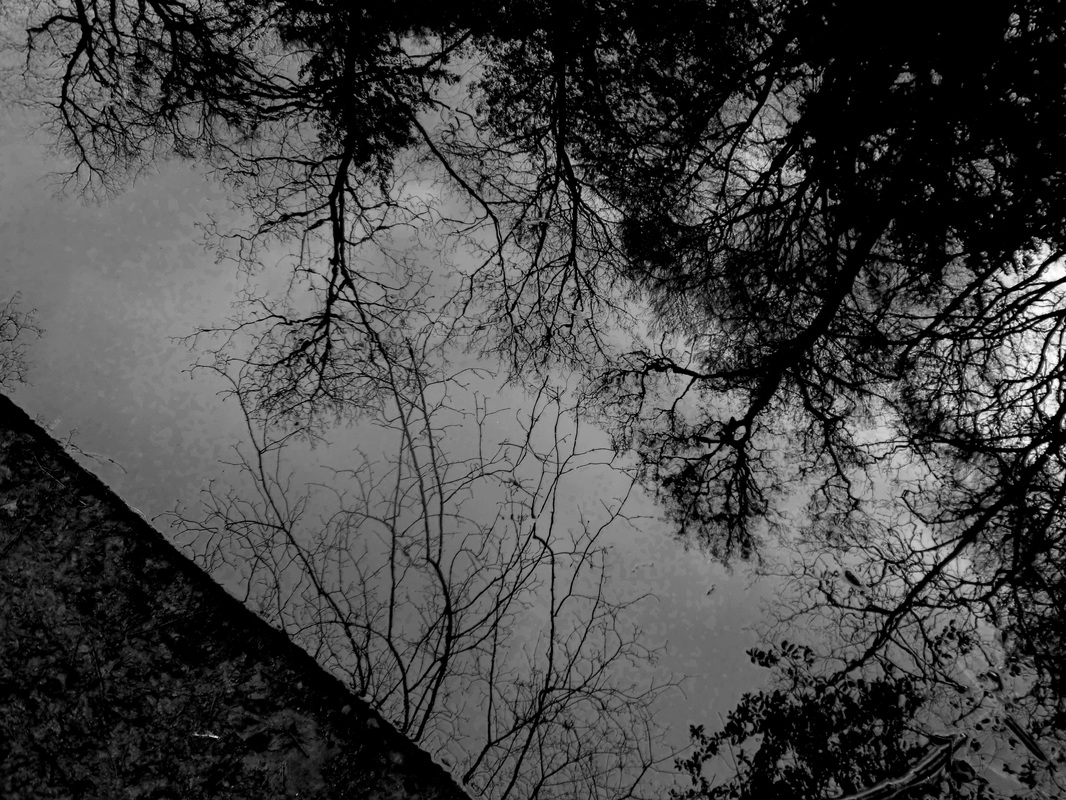
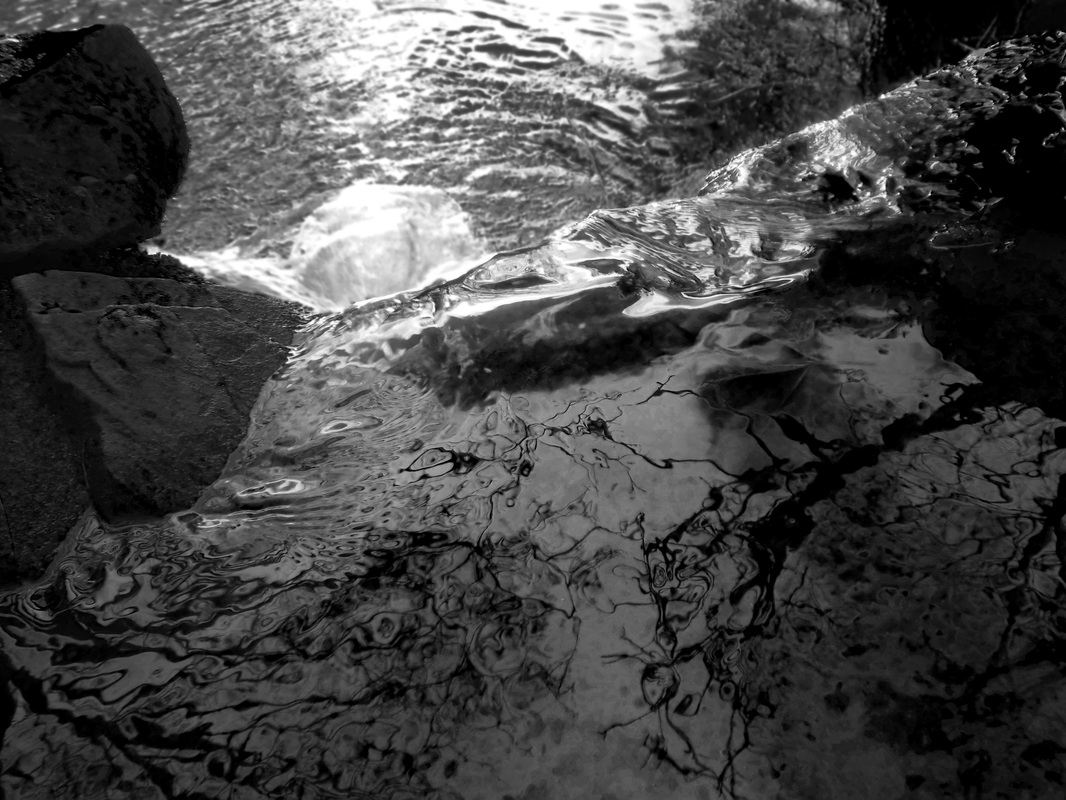
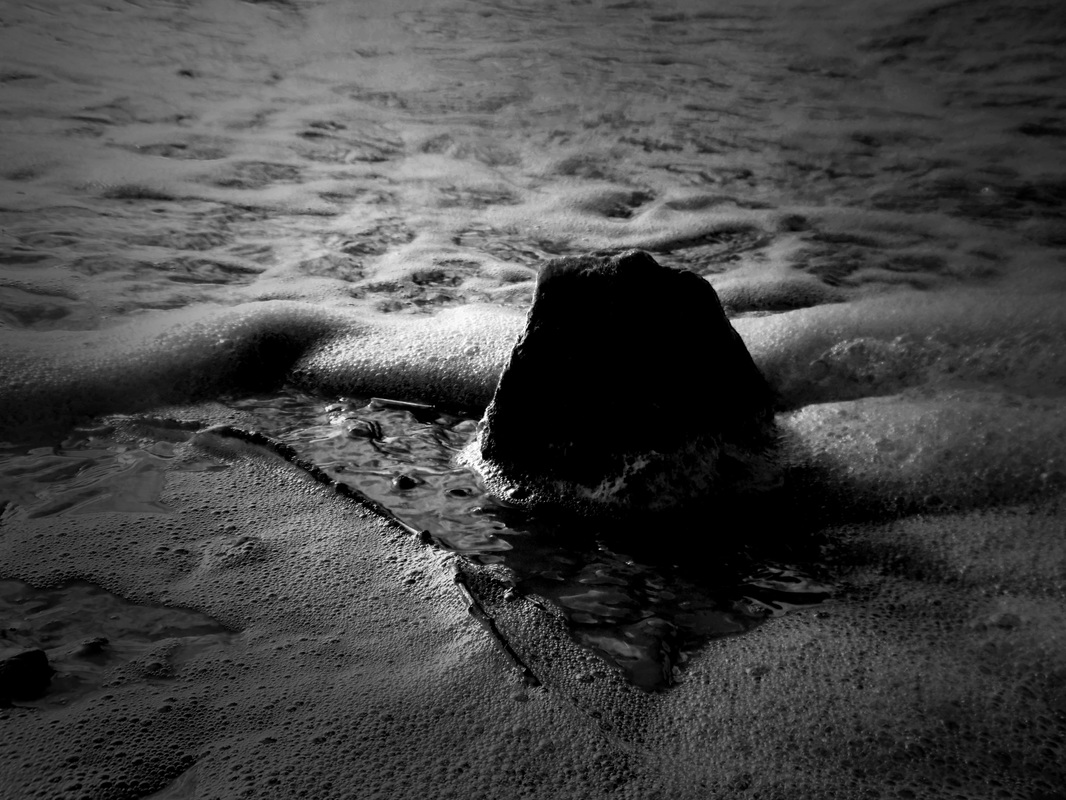
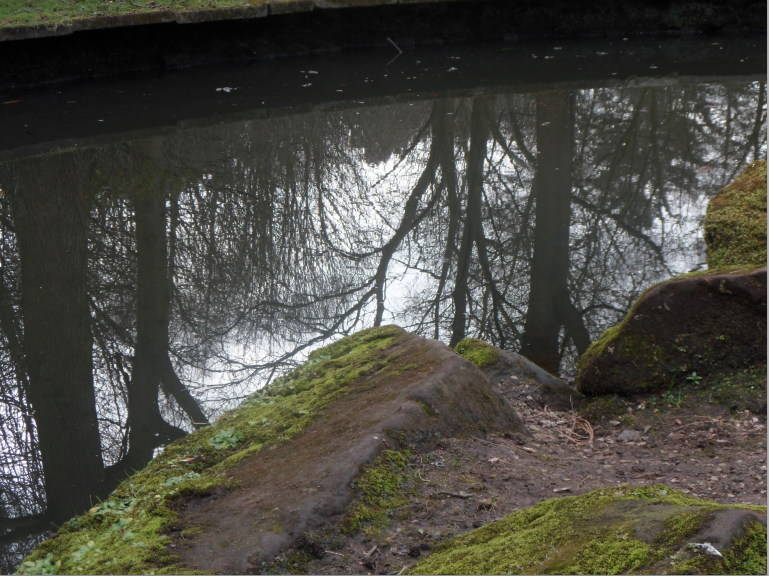
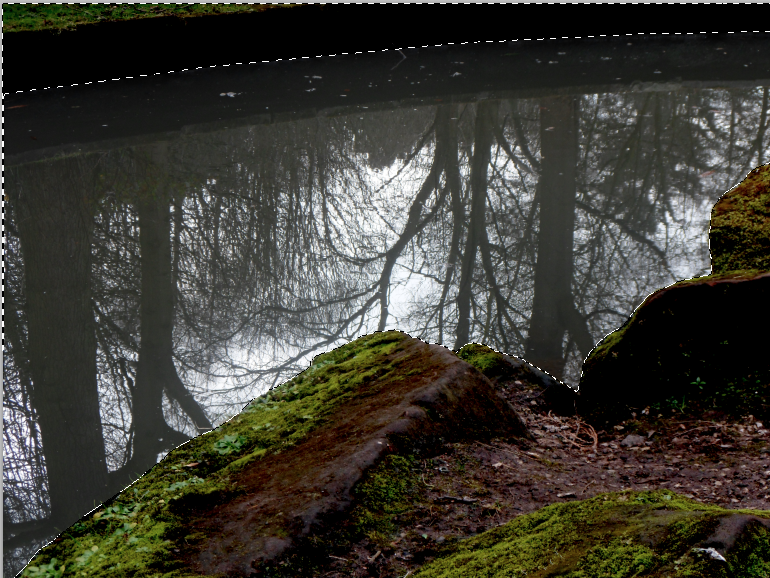
All the images that are underneath the title 'First Response' are images that I have taken. What the images show is the difference between the images in colour compared to the some of the same images in black and white. The reason why I have converted these images into black and white is because it shows a different style to the image. By experimenting with my images it allows me to see whether or not I should present my images in colour or in black and white.
Plan Of Action (15 Hour Exam)
For my A2 exam I will now start to plan what I am going to do during this period of time. My plan of action will include things such as what I will do, how I will do it and the types of photoshop tools I will use. By providing this plan it will allow me to organise and prepare myself well for when I sit the exam. In the exam I will collect all of my images that I am going to use and during the exam I will add more information about how I think the exam is going and what else I am going to do in the second half of the exam. By doing this it will allow me to identify the strengths and weaknesses of what I have done so far in the exam.
Below is a mind map which gives you information about what I am going to do for when I go into doing the 15 hour exam for example the different techniques in photoshop.
Below is a mind map which gives you information about what I am going to do for when I go into doing the 15 hour exam for example the different techniques in photoshop.
My Timed Examination Work (15 Hour Exam)
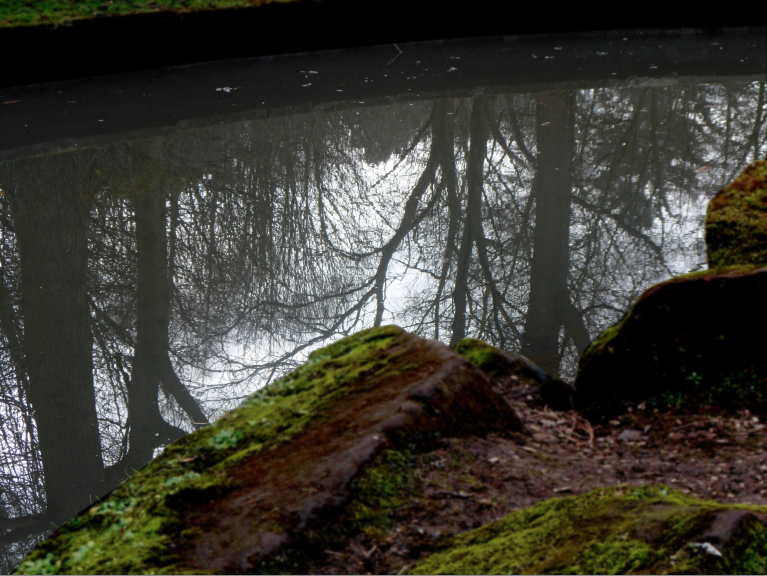
The A2 exam question that I will choose is water as you can see from the work produced below. In this section of the website is to do with the final exam which consists of me editing images that I have taken to do with this question. Below I have produced a large amount of images that I have edited to therefore be sumbitted for my exam. In addition to presenting my images, I will also show a step by step demonstration on how I have edited that picture from its origional to its final image as well as other prensentation methods such as polaroid images.


Screen Shots (Exam)
Like I mentioned above I will produce a step by step demonstration showing the photoshop techniques I have used starting from the
origional image all the way through to the final presented image. By doing this it will allow the examiner to see how I have went on to
develop the image to make the image become better. Also doing a step by step demonstration shows the examiner what I have done during the 15 hours and using creativity to increase the work that I have produced during this 15 hour exam.
Screen Shot 1 (Original)
Screen Shot 2 (Levels)
Screen Shot 3 (Gaussian Blur)
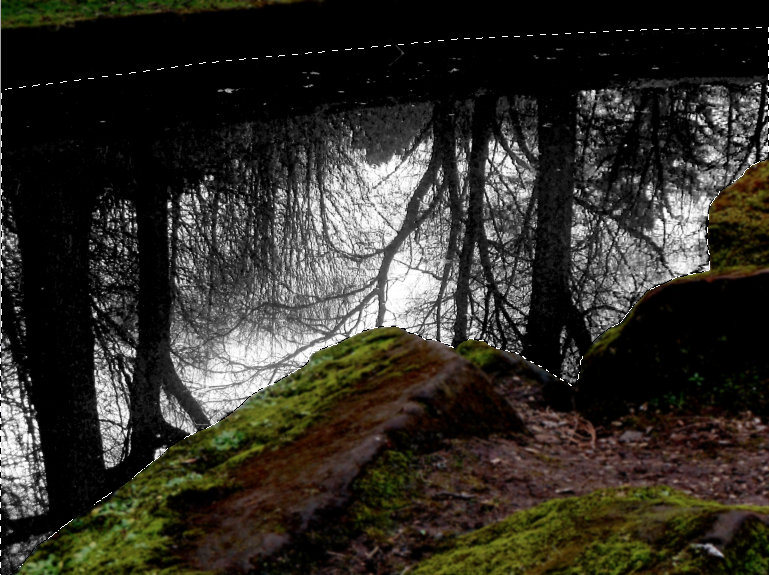
Screen Shot 4 (Black & White)
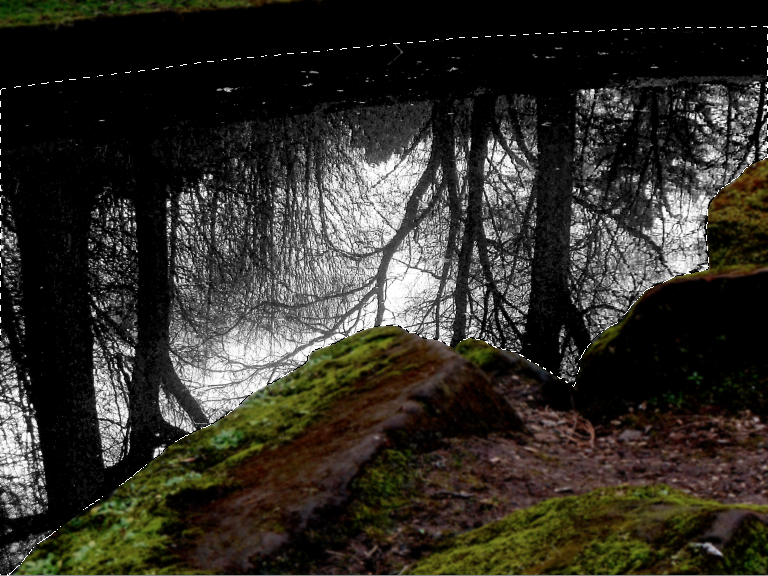
Screen Shot 5 (Sharpen)
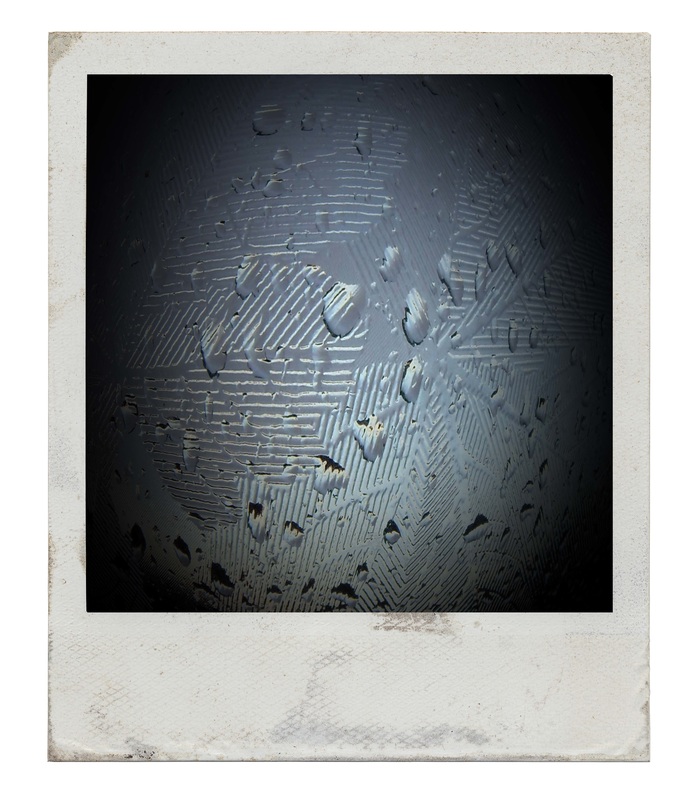
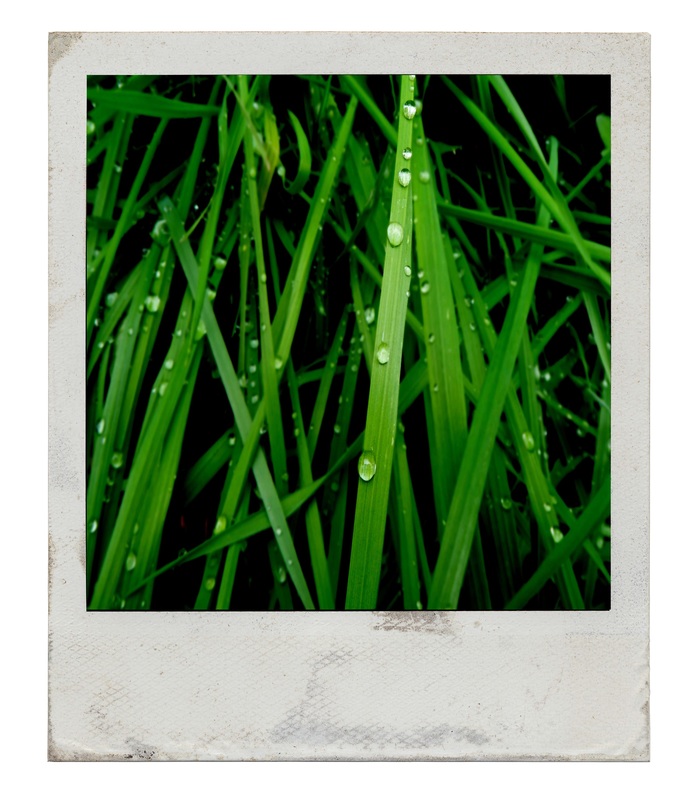
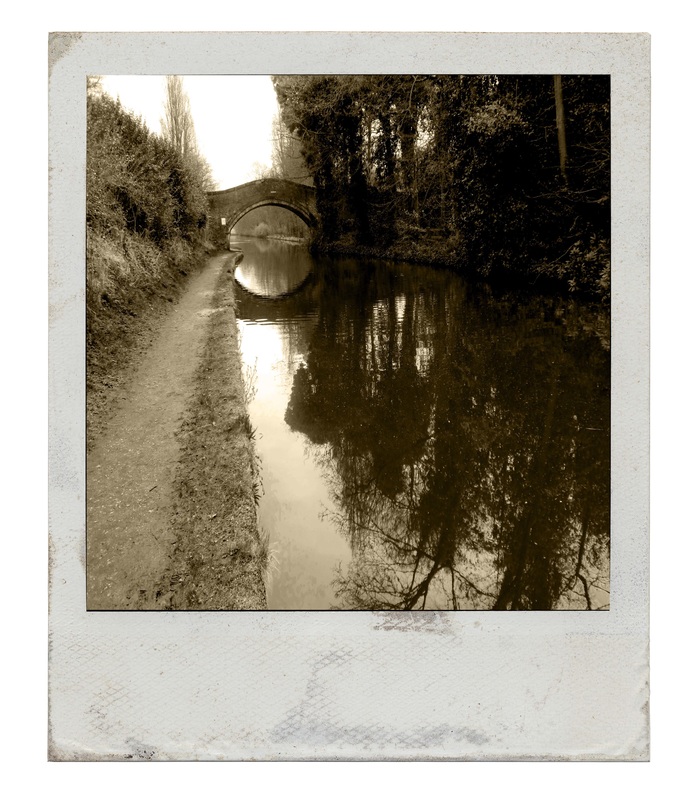
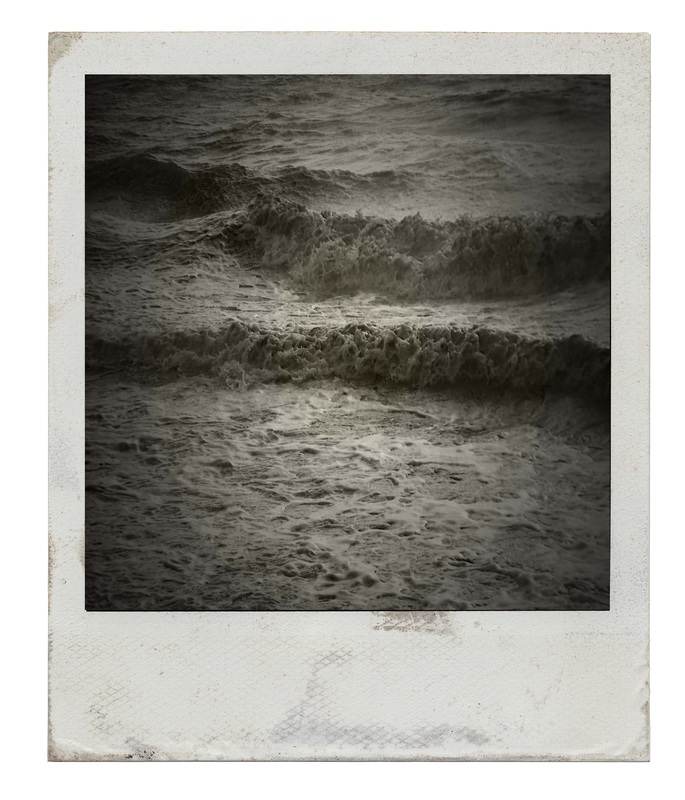
Exam Polaroids
Below I have shown another way in which I can present my for example using polaroids which will suppourt my image by adding a border around the image. Adding polaroids to the final image will show a variety of presentation methods to my website instead of a normal gallery which I have used for my A2 exam images.
My Final Presentation


|


|